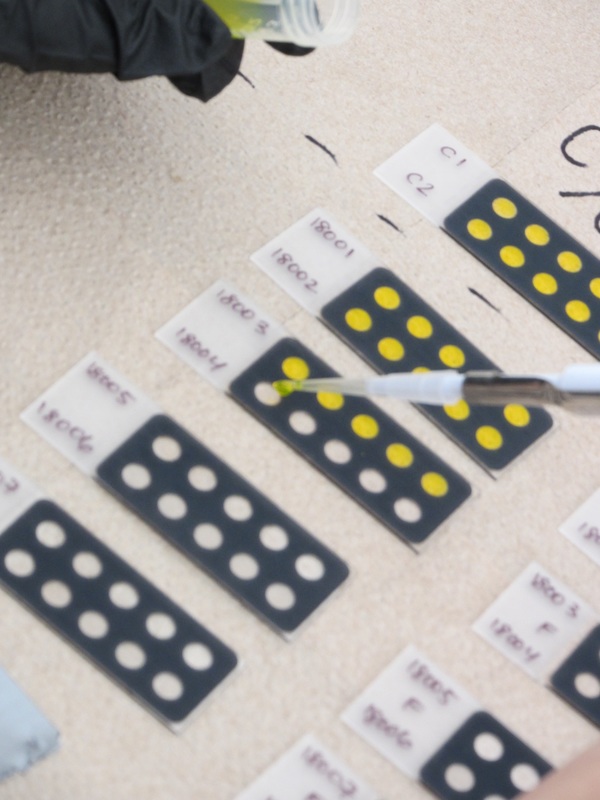
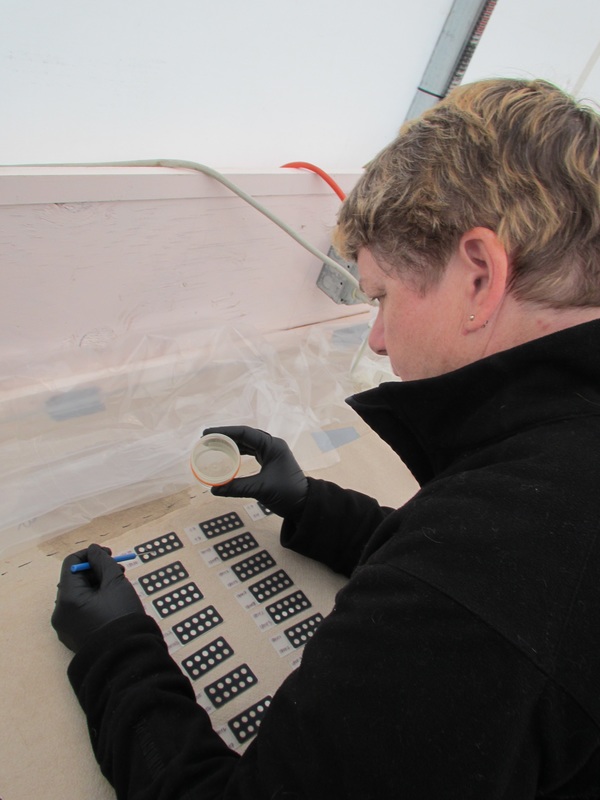
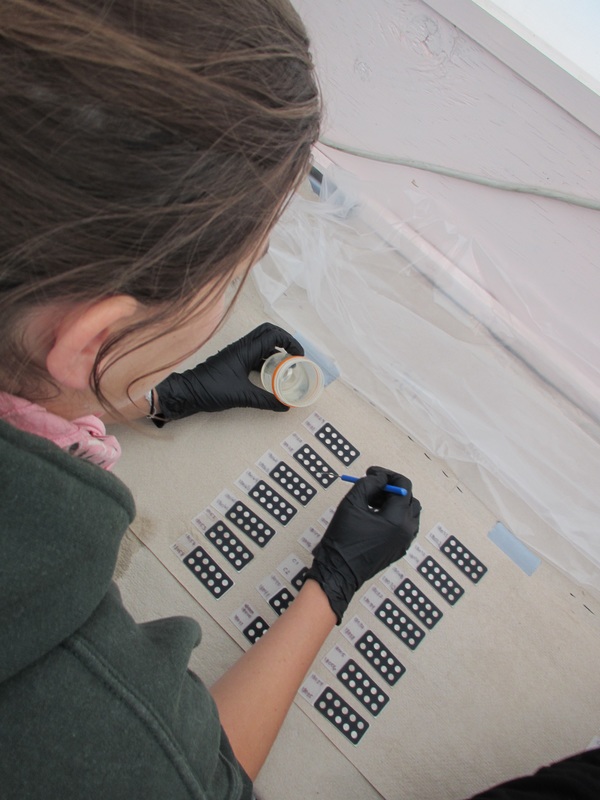
Step 1: Blend and Pipette
| The lab was wiped down with ethanol and the floor washed again today with bleach. The samples made yesterday with 5.o g of soil were used to prepare slides for use with epifluorescence to count bacteria and fungi. The 5 g of soil was mixed with 45 mL of filtered deionized water (fdiH2O - we actually used reversed osmosis water as this was what was available in the field) in a blender for one minute. One mL of this solution was added to a test tube with 9mL of fdiH2O (brought from Fort Collins). Test tubes were mixed by inverting the test tubes 10 times, alternatively a vortexer could have been used to mix the test tubes. Finally, 1 uL of the solution was pipetted onto slides that have micro-well plates made of Teflon tape. Five replicates are on each slide and two slides are made; one for bacteria and one for fungi. Everyone on the lab team was given a role: running the blender, inverting, micro pipetting, and the continual cleaning of the blender with water and ethanol. This level of team work is something very important for students to learn. Everyone participated and did their job without complaint to help the slides get done diligently and efficiently. Before we could move on to step 2, the slides needed to dry.  Team Blender: Pressler and Knight 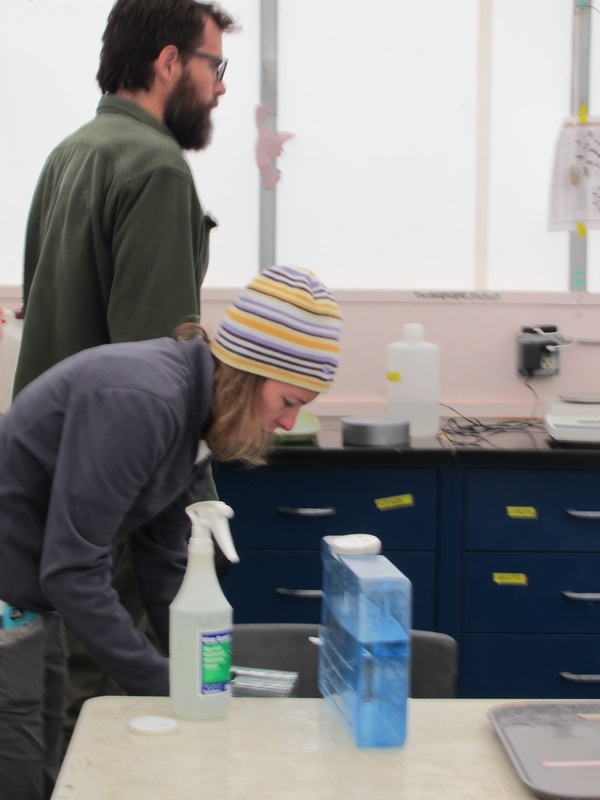 | 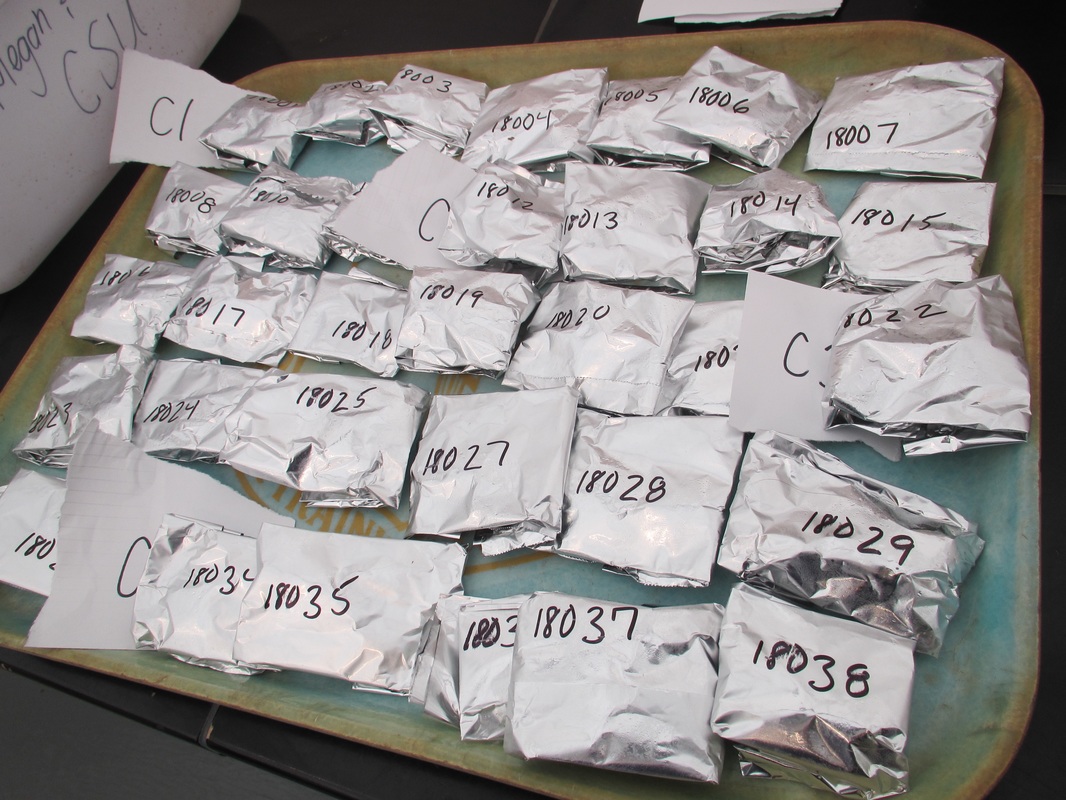 5 g soil packets 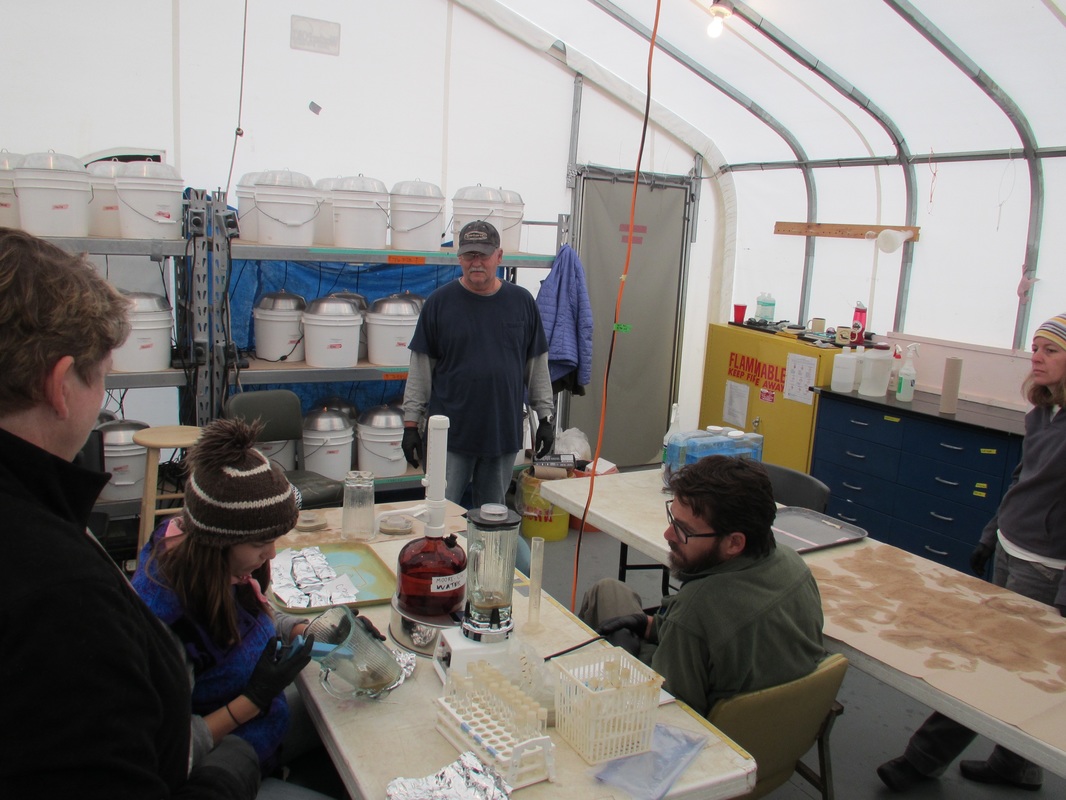 Teamwork: Blend, Vortex, Pipette, and Clean 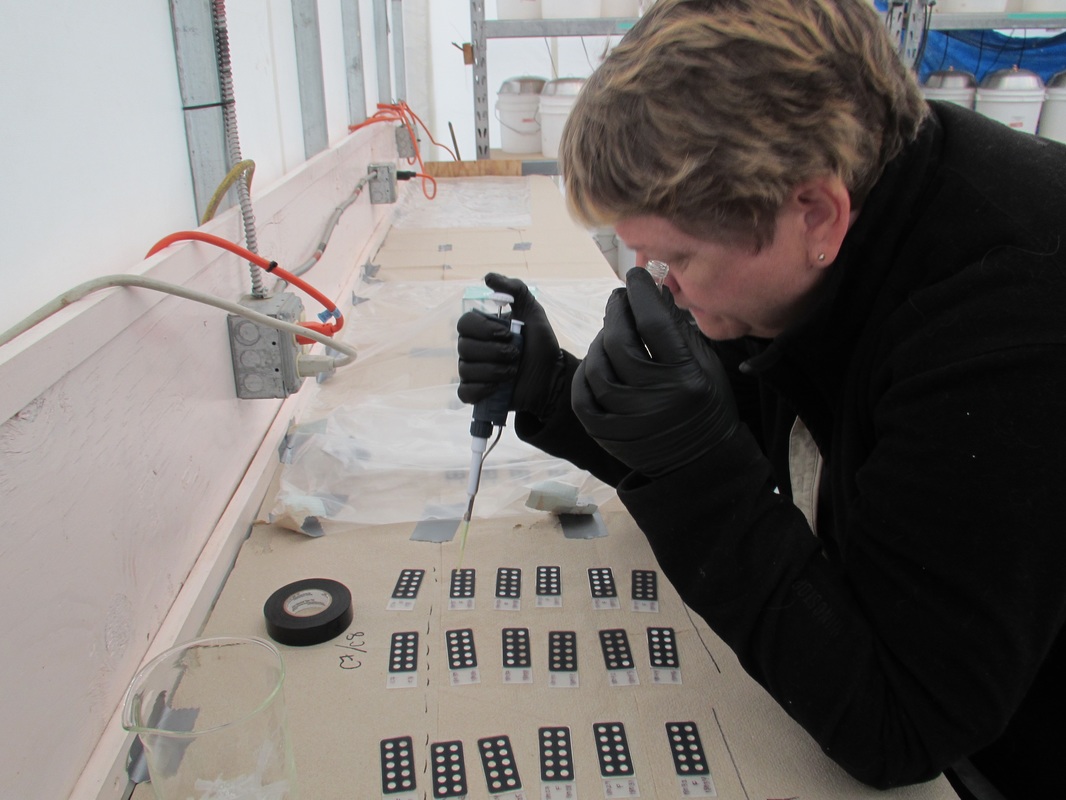 Richmond Pipetting 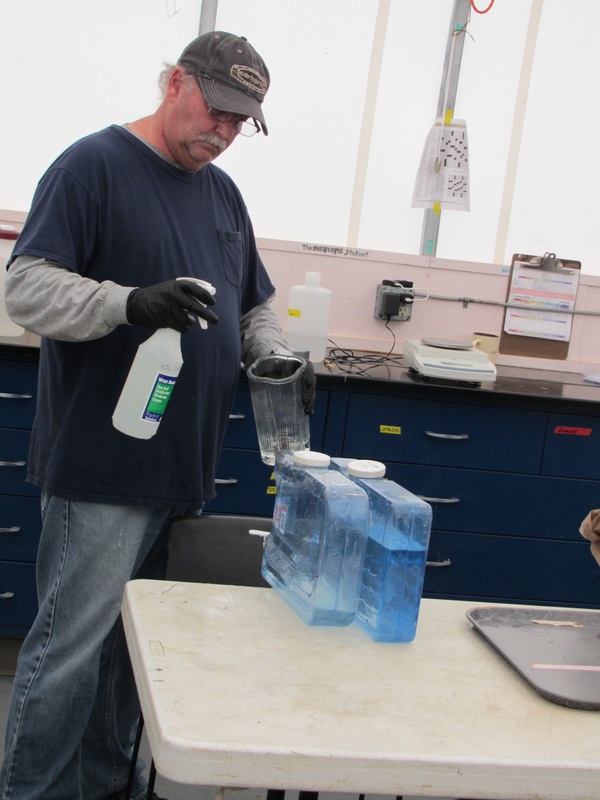 Moore and Morrison cleaning blenders |
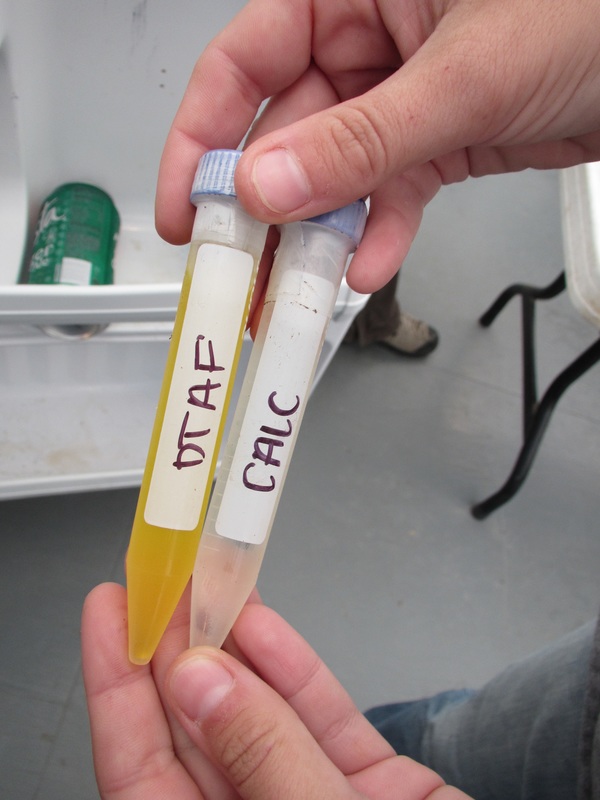
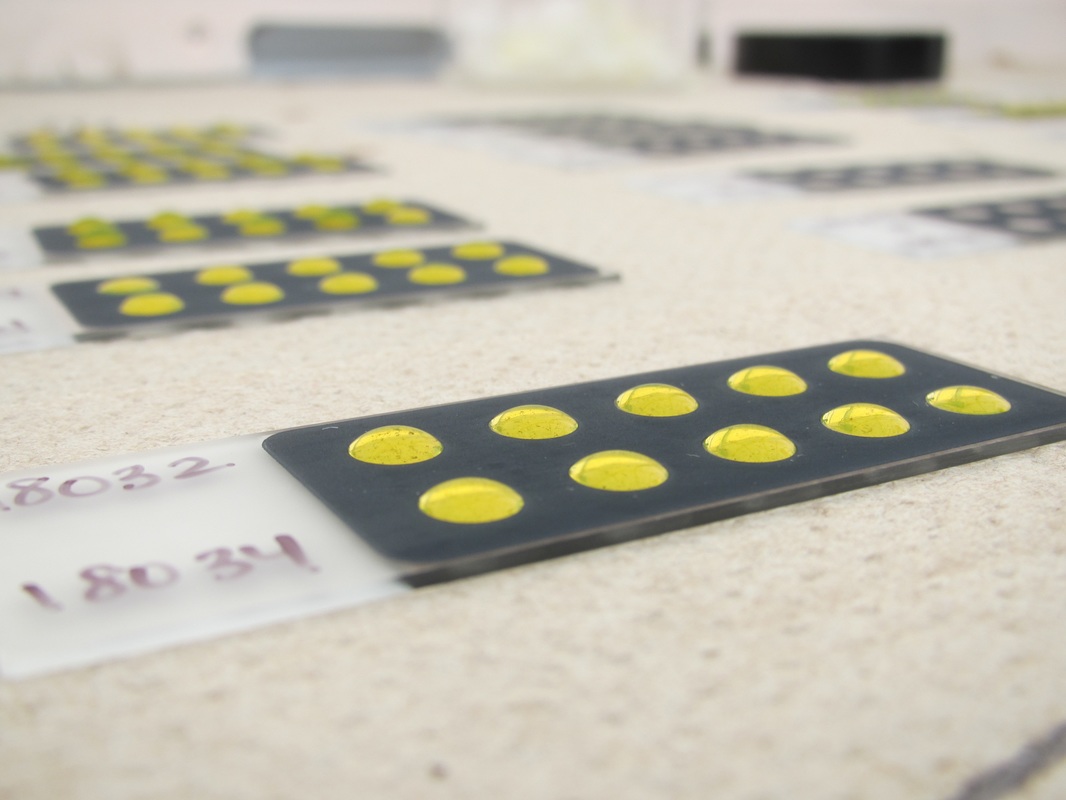
Step 2: Stain
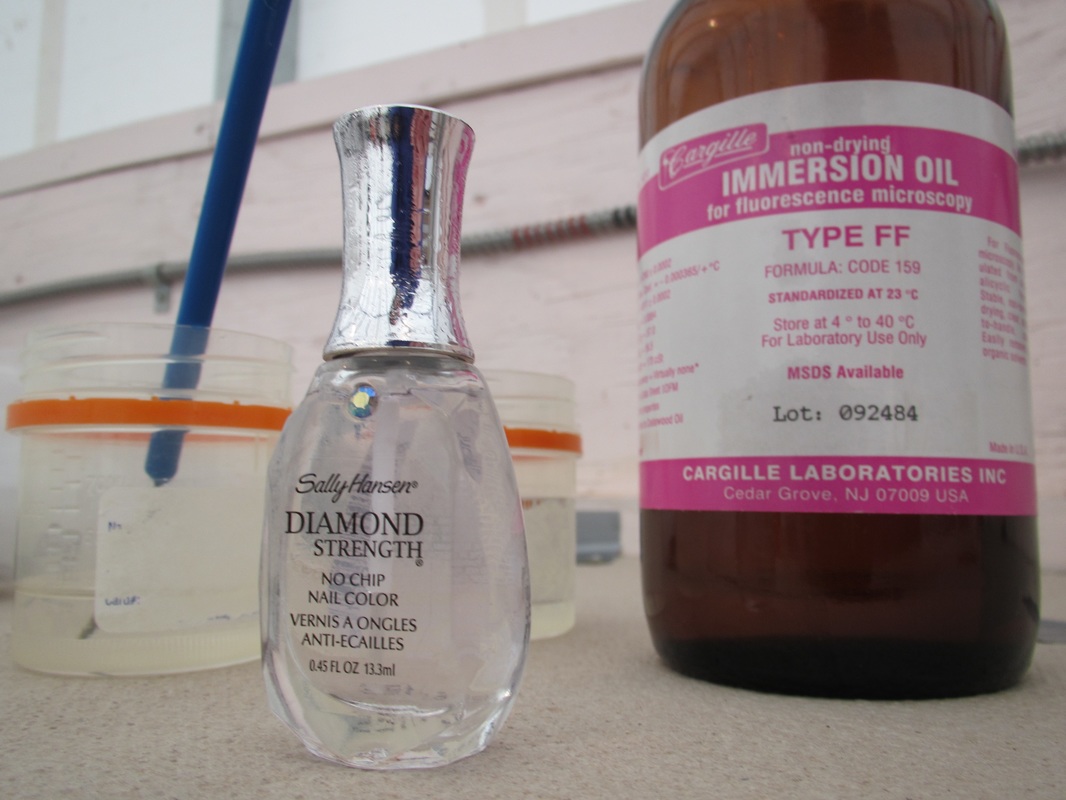
Staining is a long process with multiple long wait times due to complete multiple rinses. The bacteria were stained with a yellow DTAF stain (5-(4,6 dichlorotriazin-2-yl) aminofluorescein). This process involved flooding the bacteria slides with 10-20uL of DTAF and then storing them in a cool damp cooler to prevent drying for 30 minutes. The slides were then rinsed in PBS (Phosphate Buffered in Saline) three times 30 minutes each. One final rinse was completed using fdiH2O. The slides were then allowed to dry. The fungi were stained using 15-20ul Calcoflour stain. The fungal slides were stored in a dark container for 2 hours. They then were washed with fdiH2O three times for 30 minutes each. They were also allowed to dry. After drying both sets of slides were covered with immersion oil and a large cover slip. Cover slips were then secured with Diamond Strength nail polish. This is a messy process and we were warned not to touch our faces with immersion oil. NOTE: Do not use Quick dry polish
  |   |   |
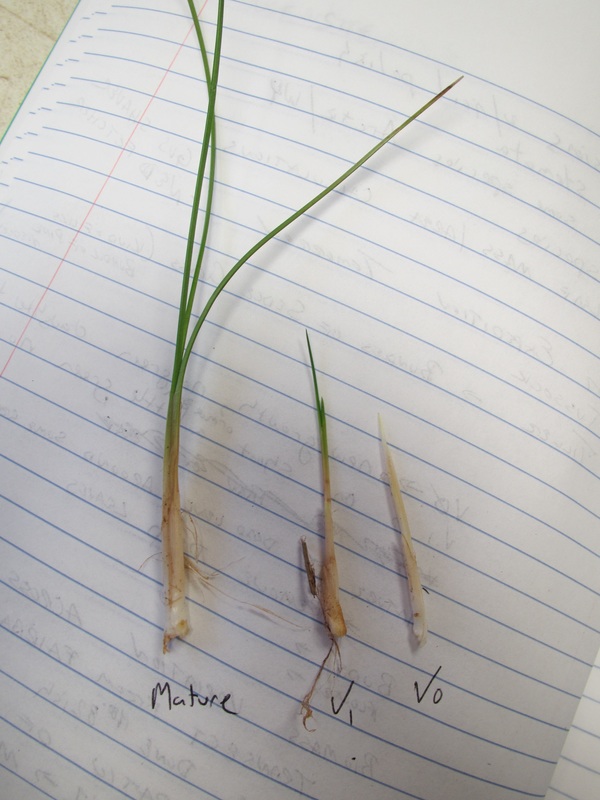
Tussock Exploration
V0While Yamina was busy running the staining and waiting process we learned that we will be taking a trip to Coldfoot tomorrow to collect tussock samples. Of course, we were very excited about the opportunity to do field research. We spent some time today working with Gus Shaver, Marine Biological Laboratory and Ned Fetcher, Wilkes University learning about their research on Tussocks - Eriophorum vaginatom. We learned how to complete Tiller Counts (bundles of sedges) counts and about their ongoing research of more than 30 years. They have a transect of plots from Fairbanks to Prudhoe Bay and examine tiller biomass by creating a ratio of V0 and V1 plants to 20 mature plants. We learned how to identify the three life stages of tiller plants. V0 plants have no green and are cloned daughters. Plants that have one green leaf are V1. Plants that have lived through one growing season are mature. It's important to note that many stems are both growing and dieing in the same year. The sorting of the bundles is kind of relaxing: almost like sitting on the porch shelling peas.
 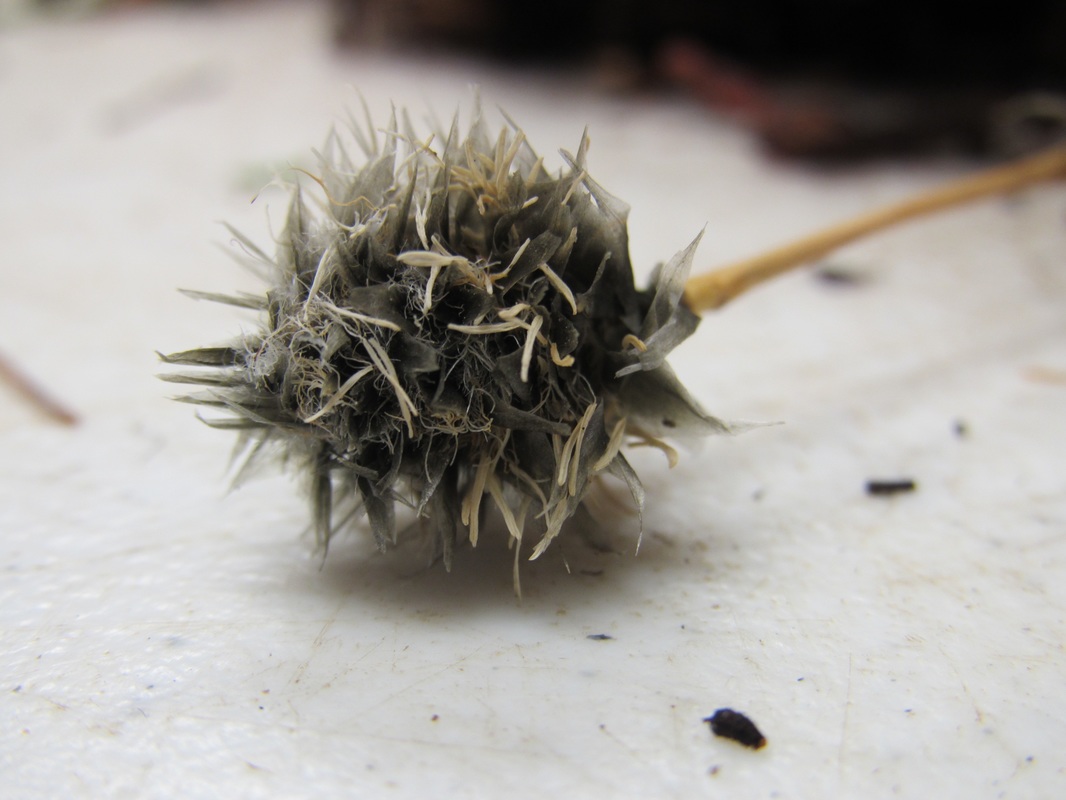 A bloom that did not disperse | 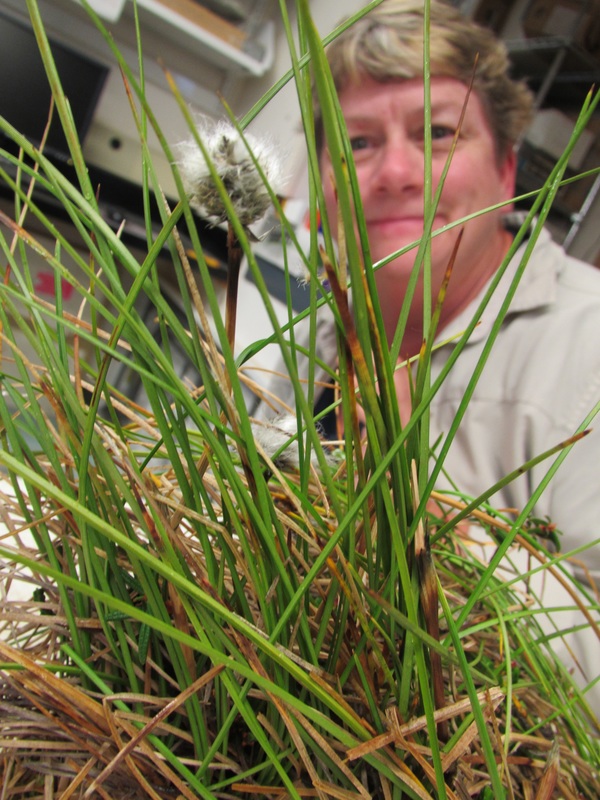 Tussock with blooms 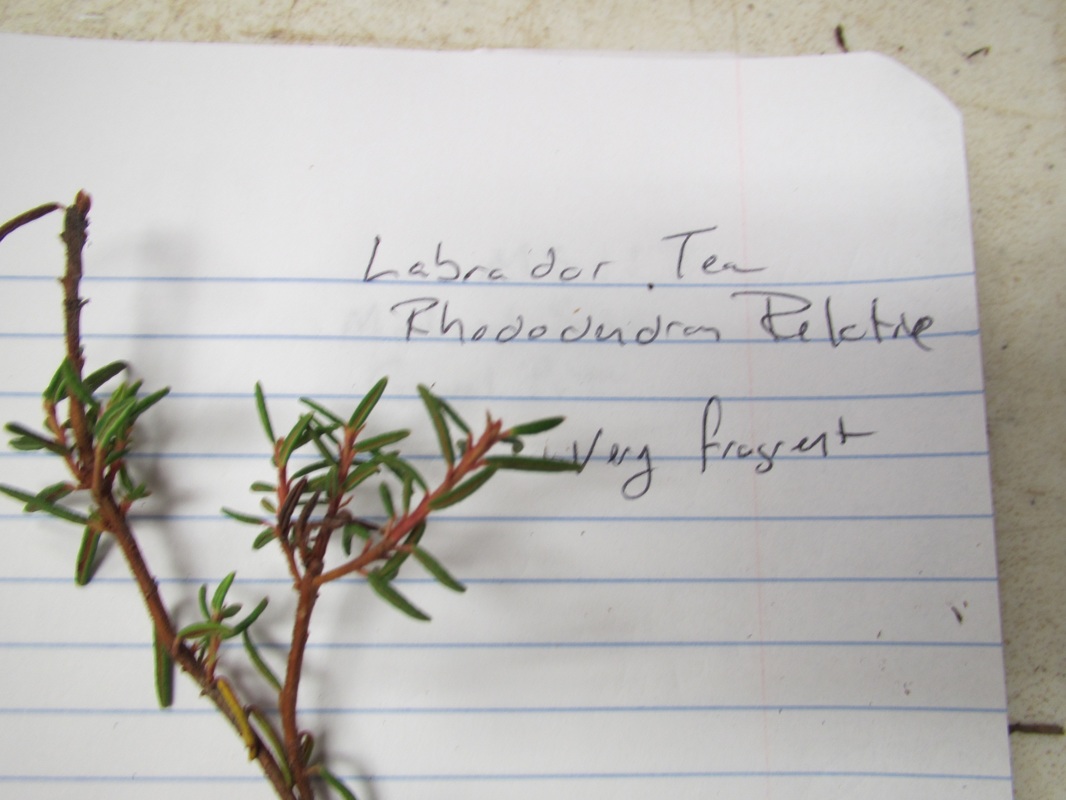 This smells good! Not a tiller though |
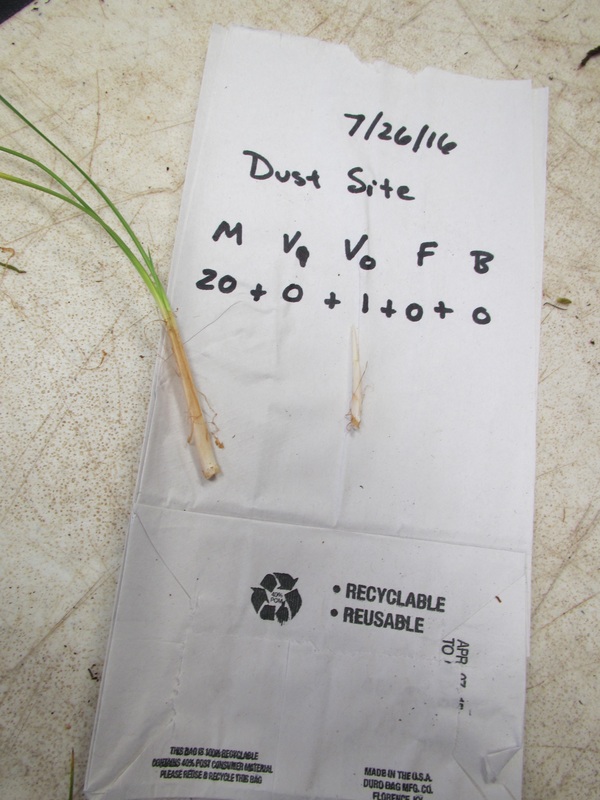 Mature samples will be put in bag to be dried and weighed. 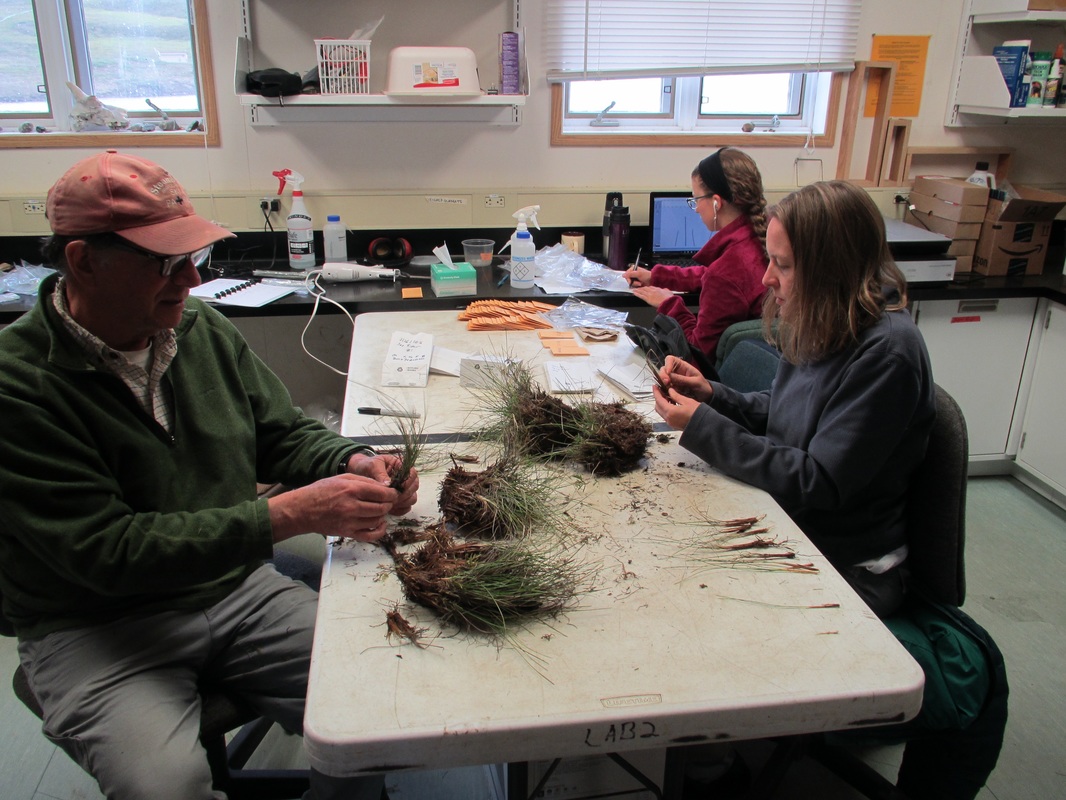 | 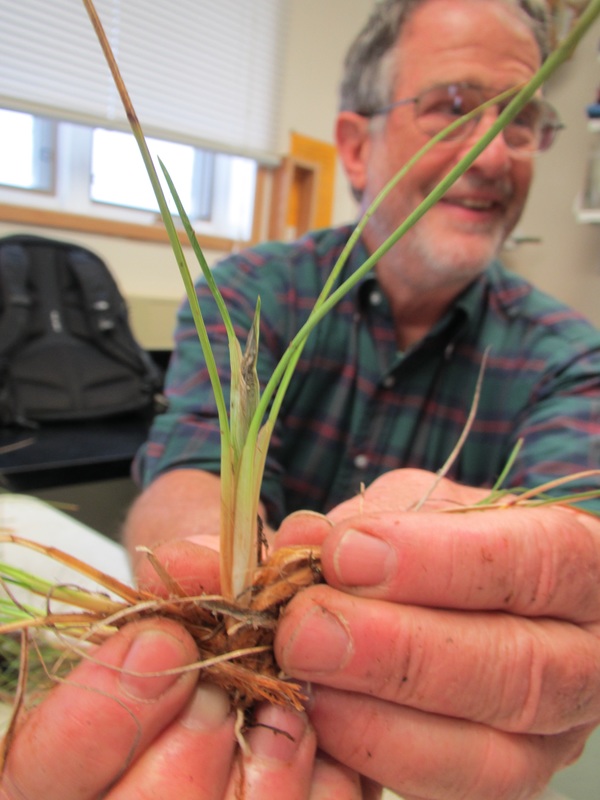 Flower Bud |
Plant Biology
We also got to check in today with Charles Knight and the Toolik Herbarium. He is working on a protocol to use leaf impressions made in nail polish to count stomata. He also spent some time today researching similar species in the Arctic and Wyoming. 32% of the arctic species are also found in Wyoming. This amounts to 75 species. Look for future studies on what makes this physiologically possible.
 Quaking Aspen stomata 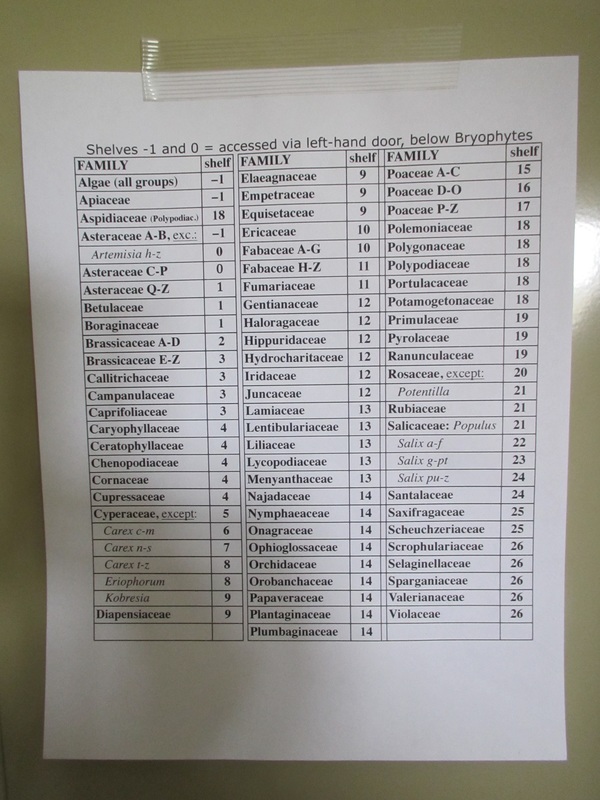 | 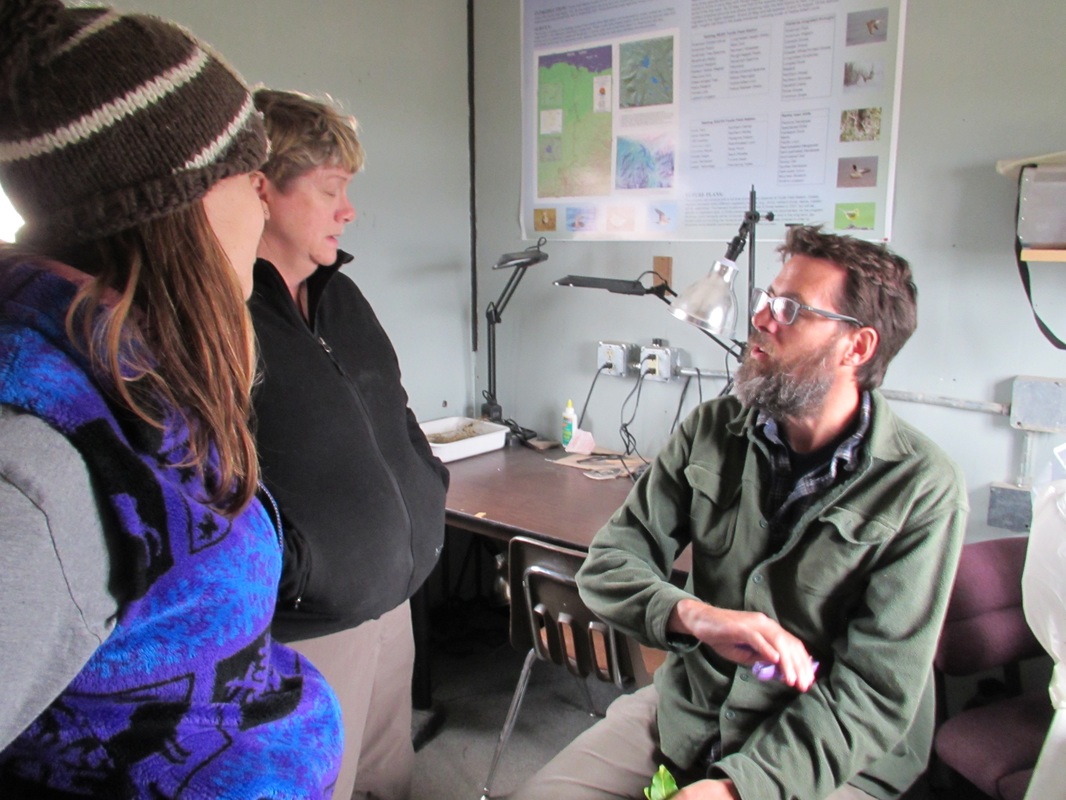  | 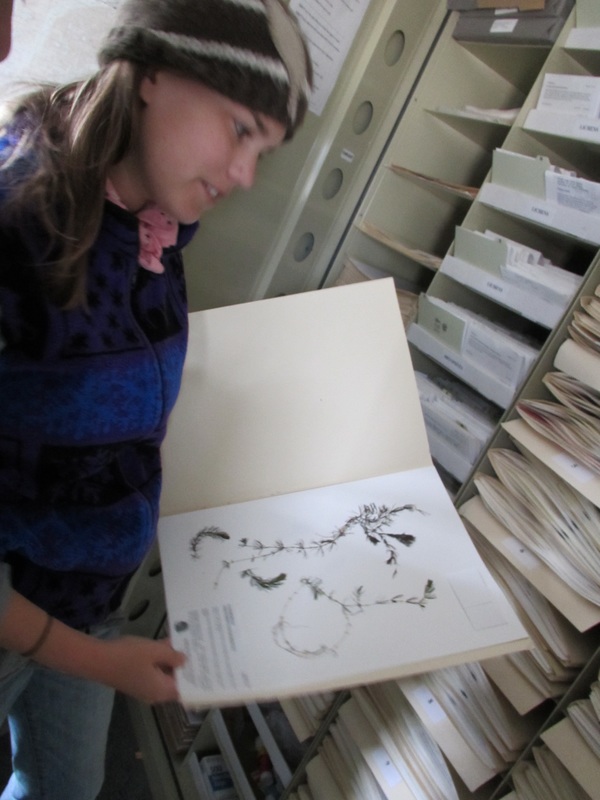 |
 RSS Feed
